2 X 4 Blocks
 |
| Using 2 X4 scraps, acrylic paint, scrapbook paper and mod podge I made these blocks to spell out Fall. |
 |
| A "graduated" 2 X4 block pumpkin. |
 |
| I used some more 2 X4 scraps, paint, and a wood dowel to make some pumpkins. |
Paper Pumpkins
 |
| Rounded Paper Pumpkins |
 |
| Archiver's Accoridan Paper Pumpkin Project |
Supplies:
- Double sided 12 X12 scrapbook paper
- 2 brads per pumpkin
- paper cutter
- paper puncher
- ribbon or paper for stem
Instructions:
1. Cut 12 one inch strips of 12 X12 paper with paper cutter to make a large pumpkin.
2. Punch a circle at the bottom and top of each strip of paper.
3. Cut a piece of ribbon or paper to make a round stem.
4. Bind strips together by using a brad. Also adhere stem to pumpkin using a top brad.
5. Slide strips apart one by one to make a pumpkin shape.
Archiver's Accordian Paper Pumpkin Project/Tutorial
When I recently visited an Archiver's store, I picked up an instruction sheet on how to make this pumpkin decoration. It is adorable but it was a struggle to make with their directions. So, I decided supplement their directions with a tutorial video. This should make it much easier for you to create one if you'd like.
Supplies:
- Martha Stewart scoring board and scoring utensil
- paper cutter
- hot glue and hot glue gun
- 1- 1 1/2" paper punch (you will need 20 circles)
- scissors
- leaves
- twine/ribbon
- eight 12 X 12 sheets of solid or coordinating double-sided scrapbook paper
- 1 sheet for the stem
Instructions:
View my uploaded Archiver's instruction sheet here and my tutorial movie below.
Burlap Wreaths
 |
| Hallowee "Boo" wreath I made the "Boo" wreath by spray painting 1 yard of burlap fabric black and cutting it into strips. I used pipe insulation to make a wreath and spray painted it black too. Double tied the strips of burlap randomly around the wreath. Modpodged scrapbook paper onto the chipboard letters and loosely tied them to the wreath with twine. I hot glued the ends of the orange ribbon together to create a hanger. |
 |
| Fall Bubble Burlap Wreath |
I was inspired to make this burlap bubble wreath by this tutorial at Today's Fabulous Finds blog. I again used pipe insulation to create the wreath but I wouldn't suggest it for this type of wreath. Some of my stick pins aren't sticking into the foam very well, so I would spend the money on an actual foam wreath, if I were to make this again.
And of course, a Grateful Banner
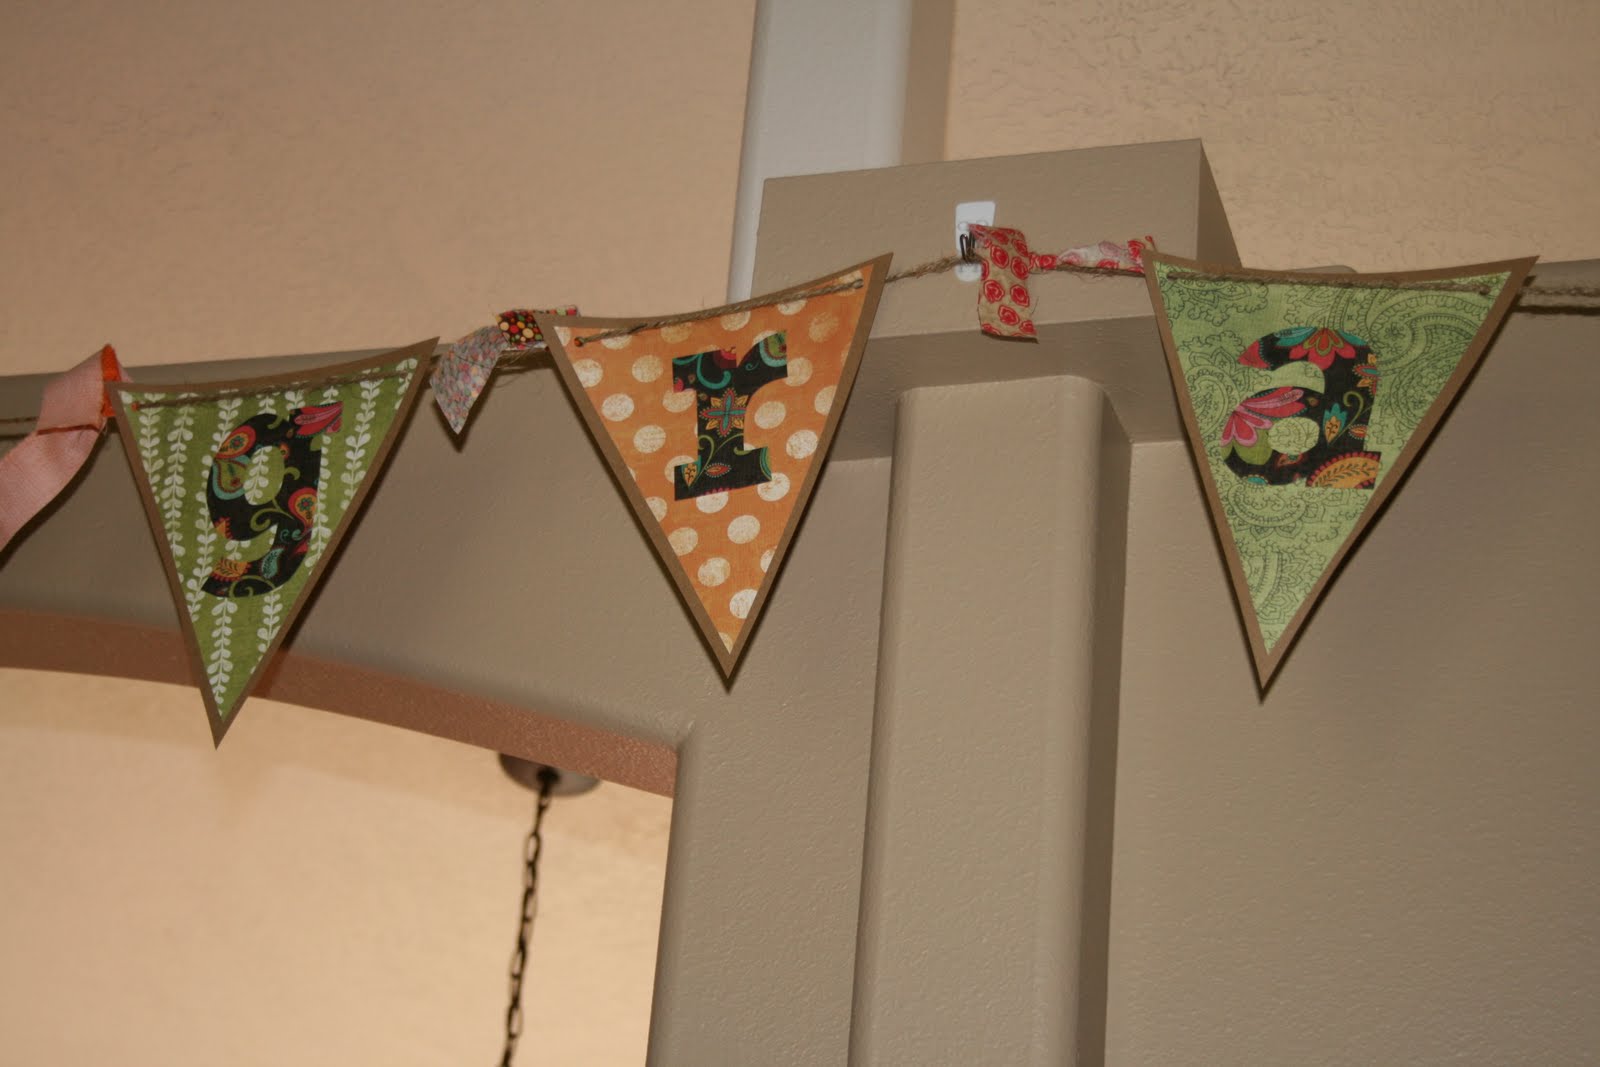 |
| Grateful Banner |

Here's the link to my banner/pennant tutorial to make your own.
So from our home to yours-- Happy Fall ya'll :) Now, enough crafting....I need to get back to cookbook typing, formatting and publishing!
No comments:
Post a Comment