 |
| Logan, Josiah & Kendall |
On Thursday, I made up a game called Prize Egg/Rotten Egg! I filled a basket of plastic eggs (with little notes tucked inside indicating a prize or "to do" activity or rotten egg) and the boys took turn drawing eggs from the basket all day. If we chose a rotten egg they had to occupy themselves until we could choose another egg 15 minutes later! It proved to be a fun game and broke up the monotony of the day. I used about 15 eggs--- 5 of them were rotten eggs and the others included prizes/activities such as: going out for ice cream, dying Easter eggs, play water bottle bowling, going to the park for 35 minutes and playing board games for 30 minutes, etc...
Prize Egg/Rotten Egg would a perfect activity to use during a play date any time of the year. Plus, it takes minimal preparation. Just make sure you are prepared to follow through on the activities that might be chosen!
 |
| Logan, Josiah and Rob |
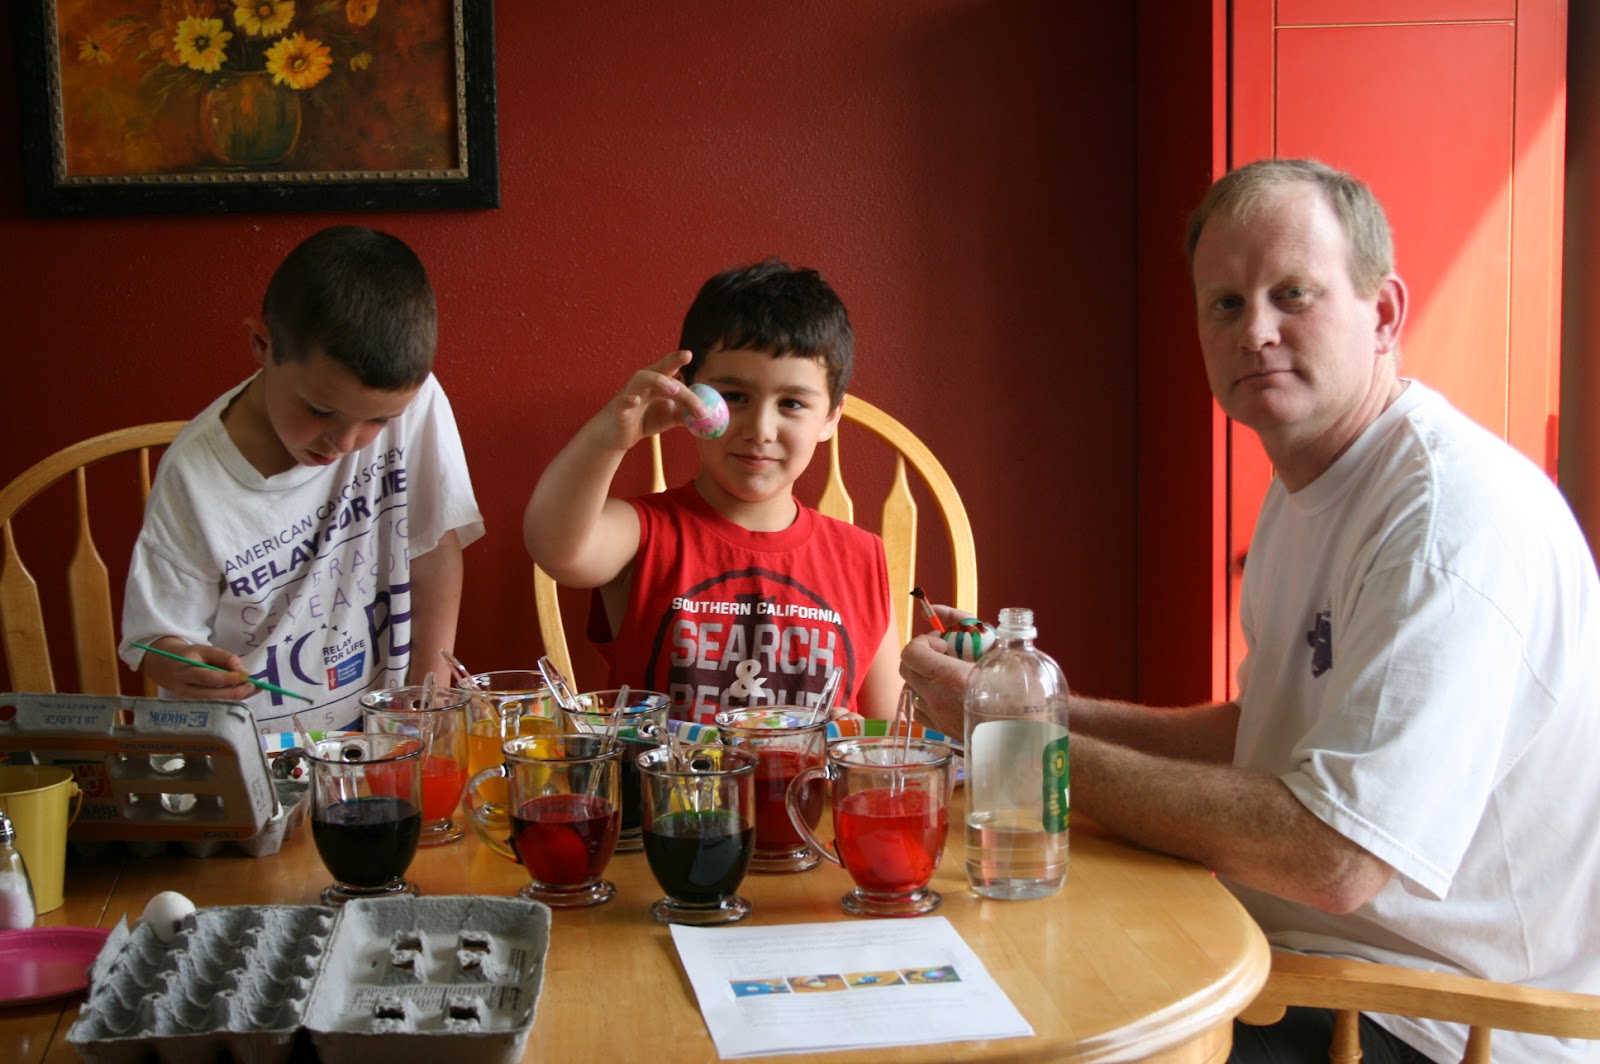
We tried three different ways to dye Easter eggs this year! (Note: I was lucky this " prize egg" was chosen when Rob was home on Friday afternoon :)
- Koolaid Egg Dying--- :( thumbs down
- Egg Dying with Food Coloring --- :) thumbs up!
- Volcano Egg Painting--- :) thumbs up!
 |
| Josiah showing an egg dyed with food coloring! |
My favorite way to dye eggs is with food coloring! This method always yields the best results in the quickest amount of time! Dissolve 15 drops of food coloring (or 1/8 to 1/4 teaspoon) in 2/3 cup of hot water and 2 tablespoons of white vinegar.
I like to buy my food coloring at Hobby Lobby in the cake decorating section for $1.18/bottle, whether I'm making frosting or dying eggs. But, McCormick's 4 pack dye box yields great results too! Use this guide to help you make lots of different colors with a basic 4 pack dye! However, for egg dying I usually double or triple the amounts to yield bright, bold eggs!
 |
| Logan painting one of his volcano dyed eggs! |
 |
| Rob and Josiah "erupting" the color on a volcano dyed egg! |
Josiah and Logan's favorite formula is Volcano Egg Dying/Painting! I originally found the idea on Pinterest and found the best how-to directions at "Toddler Approved" blog. You basically paint your eggs with a baking soda paste (dye added) and pour white vinegar over the eggs to make colorful designs. You can repeat as many times as desired! This is also the best way give eggs that marbled effect :)
 |
| All done! (Yes, Josiah is that much bigger than Logie) |
Of course on Easter Sunday-- we celebrated Christ's Resurrection at church! And I had the incredible opportunity to present the salvation message during Kids Church and had 2 children accept Christ for the first time! This wasn't a first for me...but it had been a long time since I led 2 kids to Christ! What an adrenaline rush on Easter Sunday of all days!
 |
| Eugene popping out of the box during Revolutionary Kids on Easter Sunday! April's set theme is "Puzzled" |
On Monday, I had the boys to myself again! In the morning we attempted to fly the kites they each received in their Easter baskets but there wasn't a good enough wind to keep the kites up over a long period of time. (Shocker!--given SD's wind---) It was windy but too gusty!
So, in the afternoon--- we built 2 PVC pipe forts! Another idea I found on Pinterest! You can find the perfect directions for creating one at Angry Julie Monday's blog. One of them costs approximately $35 to put together and they are ENORMOUS!!! It is basically a small playhouse vs. a fort!
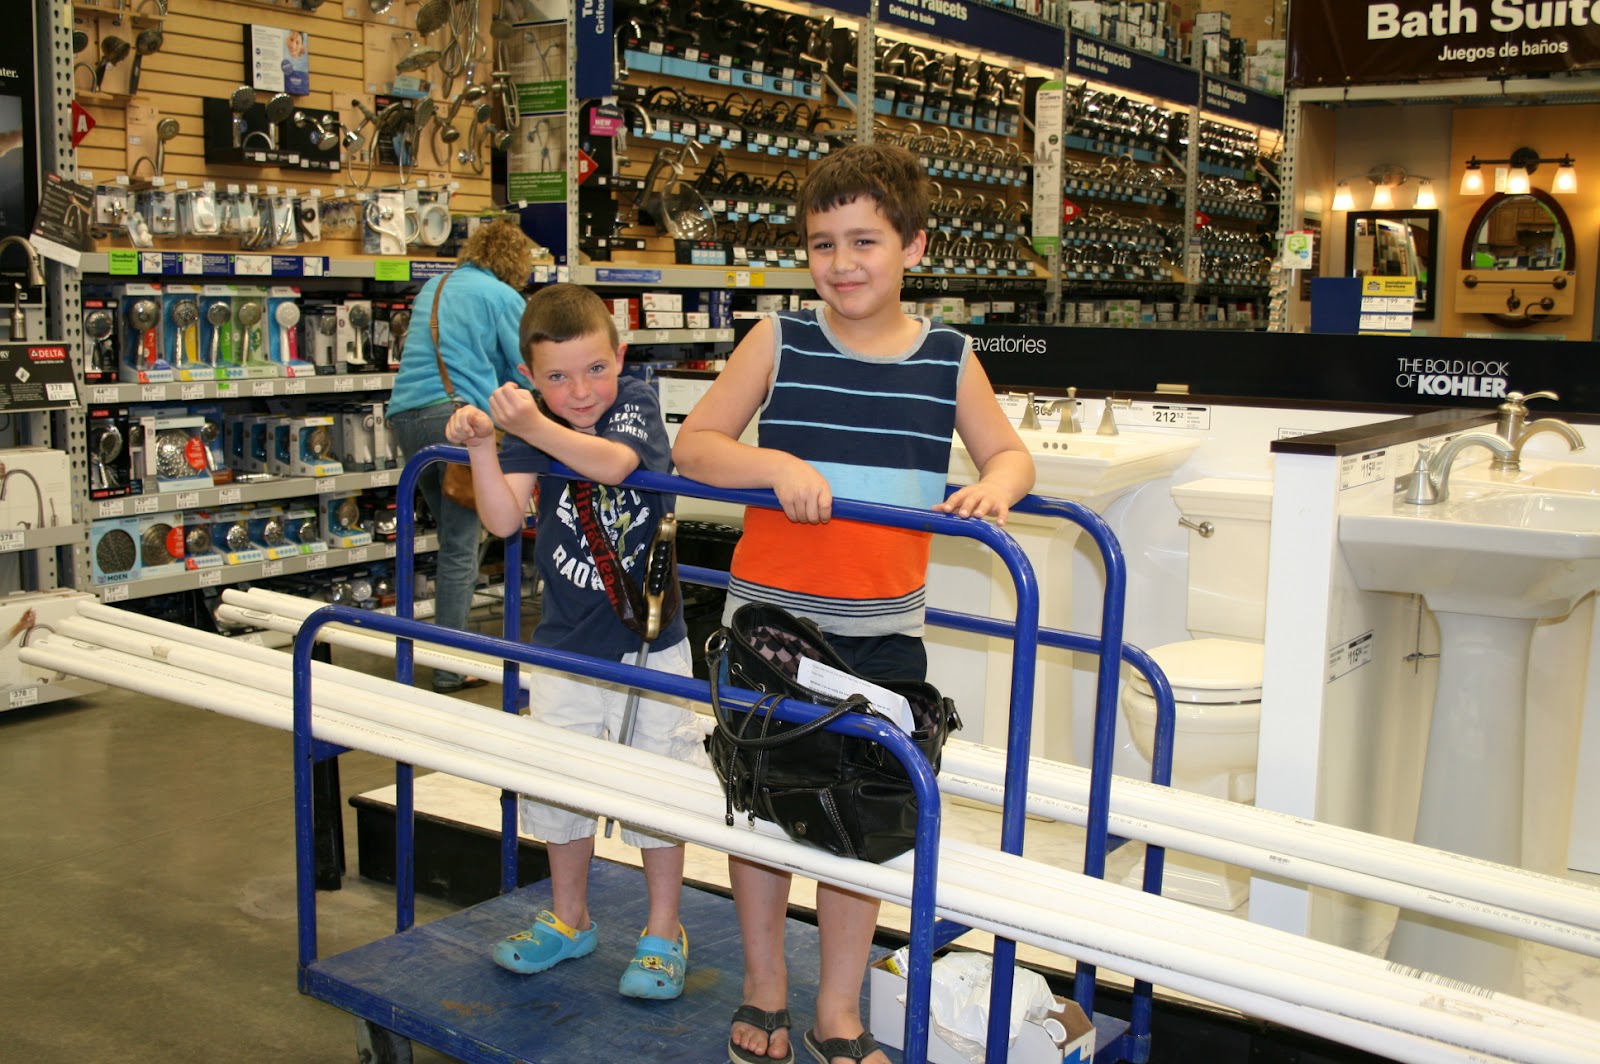 |
| Logan & Josiah helping gather the supplies at Lowe's! However, I'm happy to report we had to venture to Ace Hardware as well for a better selection of pipe fittings :) |
I hoped that Lowe's would cut all the pipe sections for me, however, when this girl came out carrying a little hand saw...I decided I would just take them home and DO IT MYSELF!!! Yes, I broke out the miter box saw and did it all by myself!!! GIRL POWER!!! After I got all the pipes cut, it really was quite simple to assemble!
 |
| A picture of the structure/frame! (Note: Logan was a pirate all day!) |
 |
| Logan, Josiah and I |
 |
| Of course, kids always want to pose for one "goofy" picture! |
This was sure fun to read. Makes me tired just THINKING of all the activities you did with the children!
ReplyDeleteCan't wait to have fun with your family soon!
Delete